Cap twist-off board

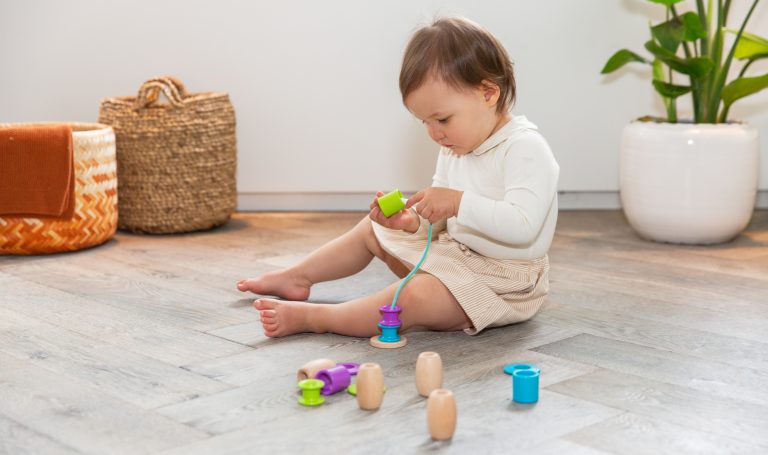
This activity is a fun way for your child to practice their fine motor skills, and also reuses disposable baby food pouches. Twisting caps to loosen and tighten them takes concentration and coordination, and can be done (and redone and redone) over and over again.
HERE’S HOW TO MAKE A CAP TWIST-OFF BOARD:
- Collect and thoroughly wash out food pouches until you have enough for this activity—4 should be plenty to start, and 6-10 makes it even more fun. Even if you only have one lying around right now, it’s enough! If you don’t have any pouch lids, look for others that could be affixed to a board: plastic bottle tops, small jars that can be glued down, etc.
- Cut the tops off, leaving some of the plastic around them; get a flat piece of cardboard and cut a few holes, then poke the extra plastic from the pouch tops through and affix it to the underside with sturdy glue or tape. The sturdier you can connect them the better, as your child may test the structural integrity of your twist-off board!
- Play around with the spacing and the organization of the tops; you can arrange them in a grid, circle, line, or any other pattern.
- Show your child how to screw and unscrew the tops. Children vary immensely in their ability to twist, screw, and unscrew, so don’t be surprised if this part is a challenge. If they get the cap all the way off, sticking it back on to screw in again may take a little assistance on your part.
- For a different approach, tape the cardboard to the underside of a table or chair—twisting and untwisting something above their heads adds a new layer of challenging fun, and the caps come clattering to the ground when they twist all the way off. You can also make the board vertical by leaning it against (or taping it to) a wall.

Keep reading
22 - 24 Months
25 - 27 Months
28 - 30 Months
31 - 33 Months
34 - 36 Months
Best Montessori and learning toys for 2 year olds
The best toys for 2 year olds support emerging independence and sense of identity. They also give your child opportunities for fine and gross motor practice, problem-solving, practical life skills, and more.
13 - 15 Months
16 - 18 Months
19 - 21 Months
22 - 24 Months
The best Montessori and learning toys for 1 year olds
At 12 months old, your toddler is more mobile and curious than ever. The best toys support mobility, fine motor skills, language, and independence. See our best Montessori toys for 1-year-olds.

19 - 21 Months
22 - 24 Months
25 - 27 Months
28 - 30 Months
31 - 33 Months
34 - 36 Months
What kind of chores are right for my child?
Children as young as 18 months can start taking on regular household responsibilities. These will be simple and straightforward, like wiping up spills or helping set the table, and will require modeling and patience from you.